 Pressbook
All postsHow-to
56 looks in seven families, effects that keep the subject sharp, and 18 new overlays. Worked out on the iPhone and drawn again for print. Nothing uploaded.
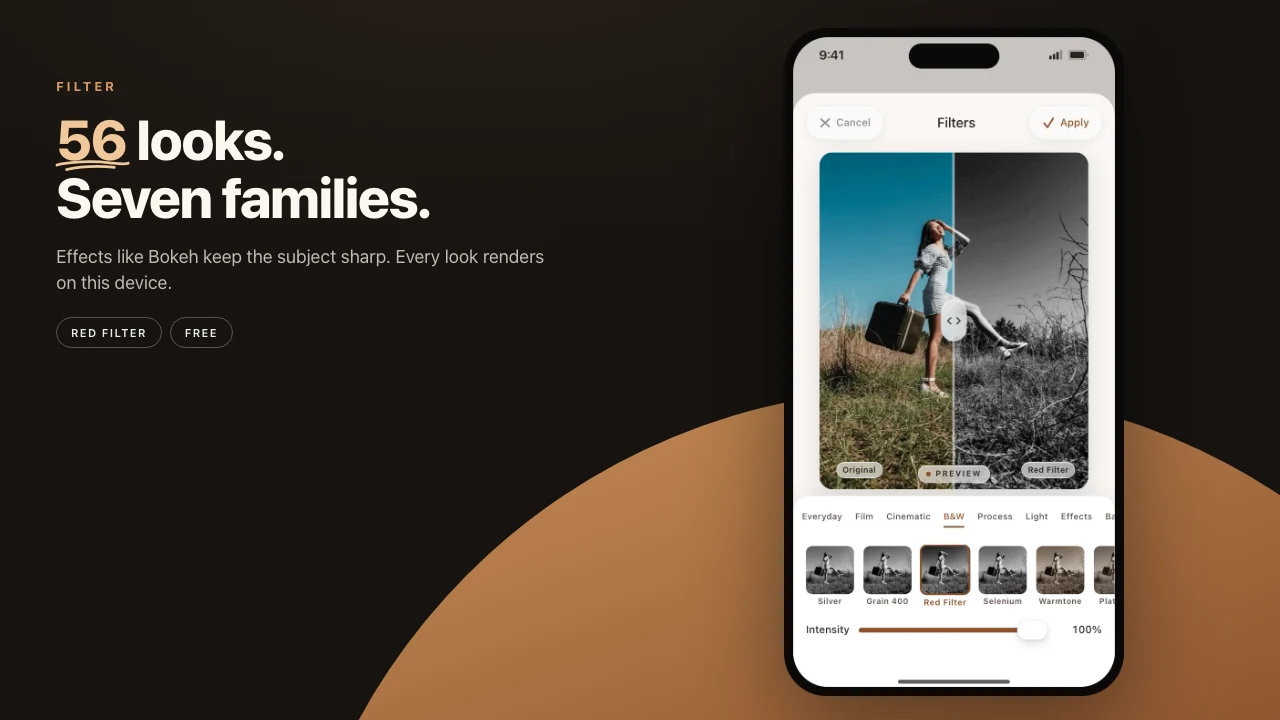
Select a photo in Pressbook and choose Filter. The picker holds 56 looks in seven families, from a quiet finishing grade to a zoom burst. Overlay, beside it, adds light, texture and print frames, and 18 of those overlays are new. Every look and every overlay is worked out on the iPhone, with the same code for the on-screen preview and the print export.
No photo is uploaded to apply a look. No overlay is fetched from a server. The look you choose is the look that prints.
The Filter picker: 56 looks in seven families
The tabs run Everyday, Film, Cinematic, B&W, Process, Light and Effects. Before them sits Favourites, with Original first so you can always go back. Long-press any look to add it to Favourites.
- Everyday. Finishing grades that don't announce themselves: True, Late Sun, Soft, Vivid, Muted, Cool, Rosé.
- Film. Negative and slide film by look and speed: Portrait 400, Golden 200, Pastel 400, Everyday 400, Tungsten 800, Slide 100, Heirloom 64. Then the cameras: Expired, Instant, Disposable, Digicam, Hard Flash.
- Cinematic. Cine 250, Teal & Orange, Bleach, After Hours, Storybook, Desert, Highland, Library.
- B&W. Silver, Grain 400, Red Filter, Selenium, Warmtone, Platinum, Infrared.
- Process. Darkroom and print processes: Cyanotype, Lith, Two-Strip, Autochrome, Infracolor, Two Ink, Cross Process.
- Light. Mist and Halation.
- Effects. Motion and lens: Pan, Slow Shutter, Zoom Burst, Spin, Echo, Bokeh, Miniature, Sun Rays, Star Filter, Anamorphic, Light Trails, Refract, Glitch.
After the families, Basic holds the plain corrections: Adjust, Auto Enhance and Tone. Every look is free.
The names are the app's own. Portrait 400 is named for a look and a film speed, not copied from any maker's stock.
How a look is built
Each look is a recipe, not a downloaded file. Exposure, white balance, a tone curve, saturation by tone, hue bands and split tones are worked out once into a colour cube on the device. Grain, halation, bloom and vignette come after, each sized as a share of the photo's short side, so the swatch in the picker, the canvas and a 6000 px print show the same look. A skin guard keeps faces close to their own colour, however warm or cool the look.
There are no LUT files to fetch and no model behind the looks. The look is computed from your photo, on your device, every time.
Effects that keep the subject sharp
A real panning shot is sharp where the camera followed. Real bokeh blurs the background, not the person. Seven of the Effects work that way: Pan, Zoom Burst, Spin, Echo, Bokeh, Miniature and Sun Rays.
Before they draw, Pressbook asks Apple's Vision framework for the photo's subject, the same kind of mask the Subject studio uses. The streaks, the soft discs and the rays happen around that mask, and the subject stays sharp. Miniature puts its plane of focus through the subject, so a street looks like a model and nobody's face goes soft. On a photo with no clear subject, a street at night, most of them work from the centre of the frame instead.
The mask is worked out on the device, and found again on the photo being printed when you export. There is no style-transfer or generative model in the Filter tool.
How a look is applied
Choose a look and the photo shows before and after on one image. Drag the divider to compare your original with the look, from the same pixels.
Below it, Intensity takes any look down from full strength: sixty percent Late Sun when the full grade is too warm. Adjust and Tone open their own sliders instead.
Apply, and the look is written to that photo. One look per photo. You can swap it any time. Looks work on video clips and stickers too.
18 new overlays
Overlay sits next to Filter in a photo's tools. It opens a grid in four sections: Effects, Frames, Textures and Scrapbook.
Eleven of the new overlays are light and texture that blend with the photo the way the real thing does, instead of being painted over it:
- Light. Corner Leak, Edge Leak, Sun Flare, Window Light, Leaf Light, Prism, Roll End. Leaks, flares and the prism add light. Window Light and Leaf Light shade where the blind or the leaves block the sun.
- Texture. Grain, Dust, Scratches, Matte Paper. Grain is sized to the photo. Matte Paper gives it the fibre and softer black of cotton rag.
Seven are print frames that turn the photo into a printed object: Deckle Print, Edition Print, Darkroom Print, Contact Frame, Peel-Apart, Brushed Edge and Slide Mount. A scalloped deckle edge. A plate mark with a pencilled edition in the margin. A contact-sheet frame with a grease-pencil pick. Any writing sits in the margin, never on the picture.
The overlays you know are still there: Vignette, Film Strip, Instant, Stamp Perforation, Torn Paper Edges and Torn Photo, with Tape Strip, Paperclip, Dog Ear and Date Stamp in Scrapbook.
Every overlay is drawn in code, not shipped as an image. Its sizes are a share of the photo, so a tile in the picker, the canvas and a 600 DPI print agree.
How overlays layer
A photo takes one overlay at a time. Pick another and it swaps. Tape, a paperclip or a date stamp go on as small objects near the corner, and they don't replace the overlay that covers the photo.
Once an overlay is down, its strip has Opacity, Rotate, Swap and Remove. Grain at twelve percent. A corner leak turned until it sits across the top. A date stamp also gets Date and Style.
Stacking is global. Every photo, text layer, sticker and overlay is a layer with a place in the stack. Open Layers and drag a row: tape over the photo, text over the tape. The order you see is the order that exports.
The same code for screen and print
The looks and the overlays are drawn by the same code for the live preview and for the PDF exporter. When you export for print, Pressbook renders the page again from your photos: it runs your look on the photo it prints, finds the subject again for an effect, and redraws every overlay for that page. What you approved on screen is what the lab receives.
Everything runs locally through Core Image and SwiftUI. No upload. No server-side compositing. No recompression on the way to the printer.
Steps
- Select a photo in a Pressbook album, collage, or carousel and choose Filter.
- Try Late Sun or Portrait 400 at full strength, then pull Intensity back to sixty.
- Open Effects and try Bokeh or Pan on a portrait. The person stays sharp.
- Choose Overlay. Add Corner Leak and rotate it until it sits, or wrap the photo in Deckle Print.
- Stack a piece of tape. Reorder the layers until the page reads.
- Export. The preview and the print come from the same code.
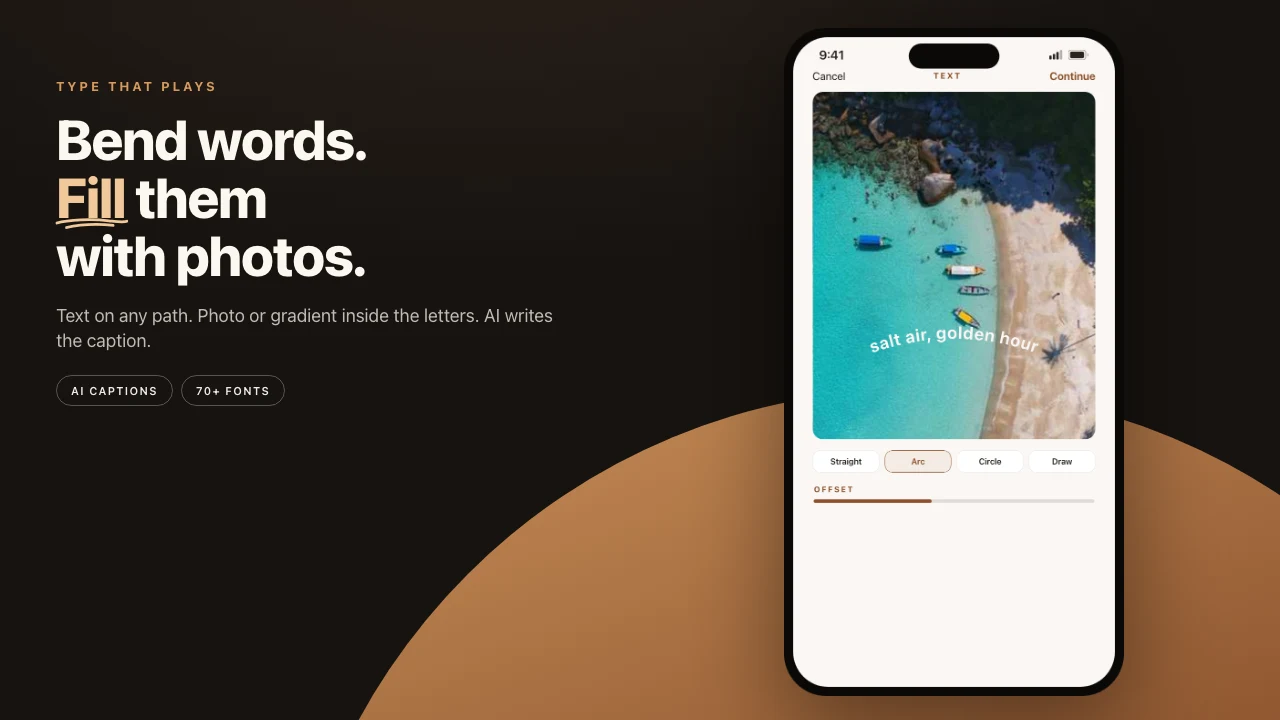
For the other surfaces of the same editor, see curved text on photos and the Subject studio, which cuts out, lifts and traces the person in a photo.
Start on iPhone or iPad. Make an album in Pressbook. Free, no account, nothing uploaded.